To set constraints on the elements that make up your model, press the CONSTRAINTS button on the Tab Bar.
NODE SUPPORTS
To set a constraint on nodes, click on Node supports in the Entity Tree. Go to the Data Panel and press New.
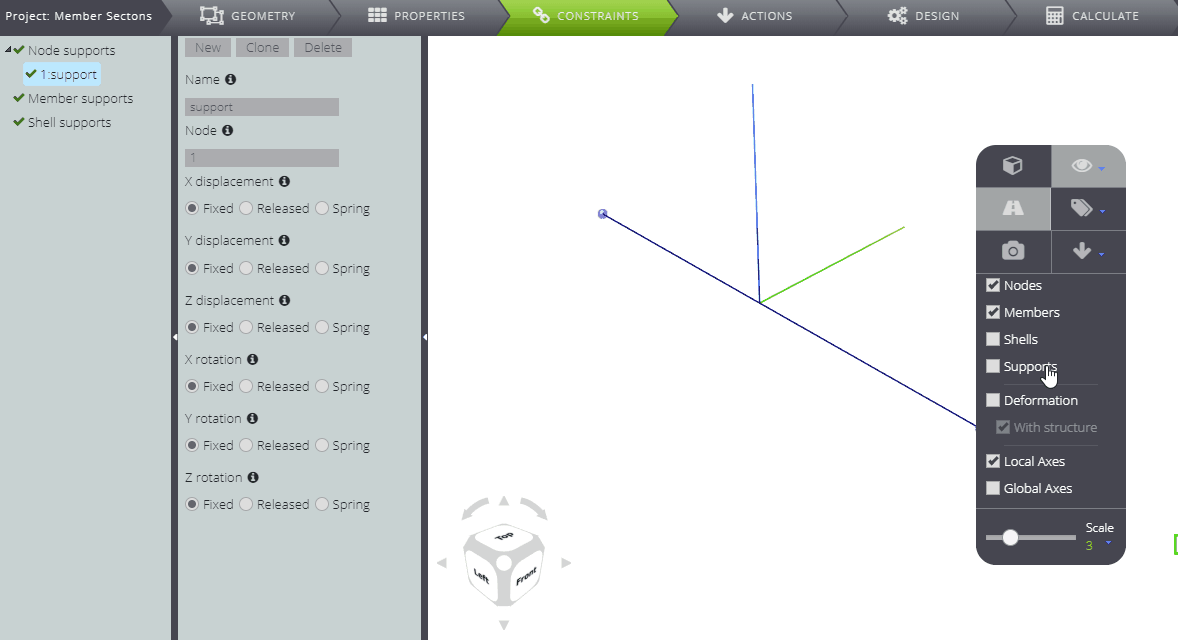
In the Node field write the number that identifies the node you want to bind, then underneath select which moving component you want to fix or release. You can also impose a spring constraint and specify its stiffness.
If you need to repeat the same constraint conditions for several Nodes, it will be easier to use the multiple assignment feature: enter a list or range of Nodes to which you want to apply the same constraint.
MEMBER SUPPORTS
To set a constraint over the entire length of a member, press on Member supports in the Entity Tree. Go to the Data Panel and click on New.
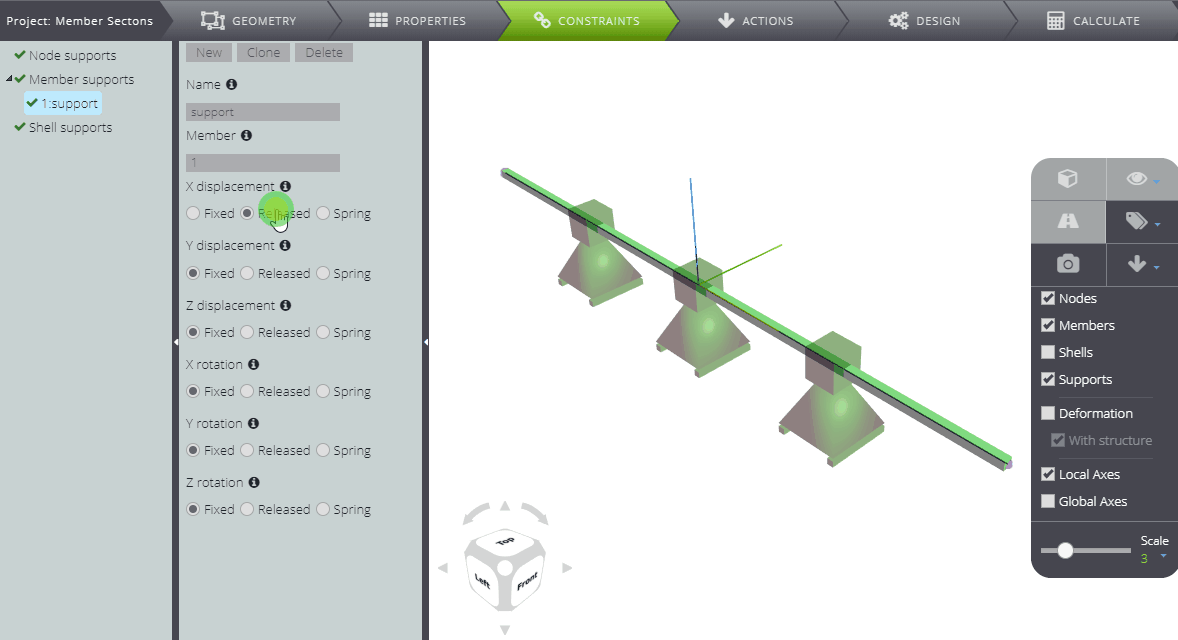
In the Member field write the number that identifies the member you want to bind, then underneath select which moving component you want to fix or free. You can also set a line constraint and specify its stiffness.
If you need to repeat the same constraint conditions for several Members, it will be easier to use the multiple assignment feature: enter a list or range of Members to which you want to apply the same constraint.
MEMBER HINGES
To assign hinges that control the Member relative displacements/rotations at the start or end node separately, press on Member hinges in the Entity Tree. Go to the Data Panel and click on New.
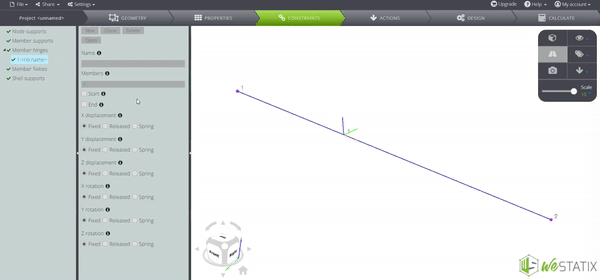
In the Members field write the number that identifies the member you want to bind. Additionally, select Start or End to specify at which of the member nodes the hinge should be assigned.
Finally, select which moving component you want to fix or free. You can also impose a spring constraint and specify its stiffness.
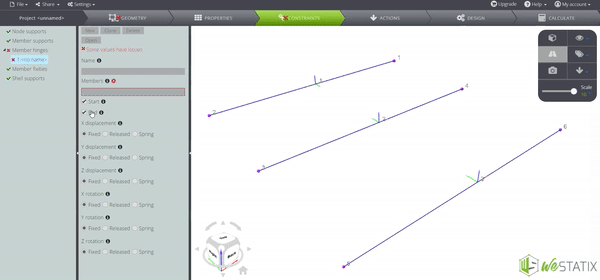
If you need to repeat the same hinge conditions for several Members, it will be easier to use the multiple assignment feature: enter a list or range of Members to which you want to apply the same constraint.
MEMBER FIXITIES
You can also assign a constraint to the start or end of a Member by using the Member fixities. Select the corresponding option in the Entity tree, then go to the Data panel and press New.
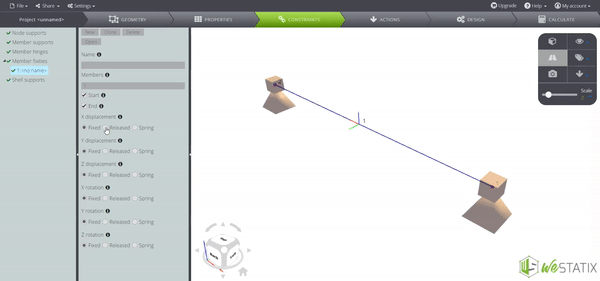
In the Members field write the number that identifies the member you want to bind. Additionally, select Start or End to specify at which of the member nodes the fixity should be assigned.
Finally, select which moving component you want to fix or free. You can also impose a spring constraint and specify its stiffness.
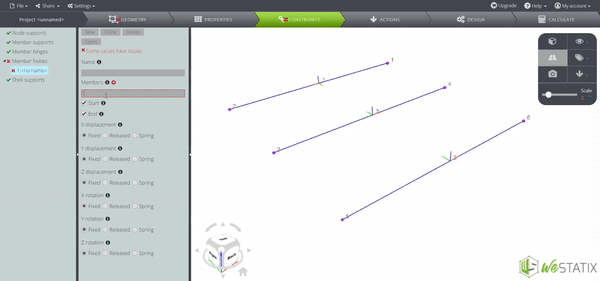
If you need to repeat the same fixity conditions for several Members, it will be easier to use the multiple assignment feature: enter a list or range of Members to which you want to apply the same constraint.
SHELL SUPPORTS
To set a constraint on the entire surface of a shell, press on Shell supports in the Entity Tree. Go to the Data Panel and press New.
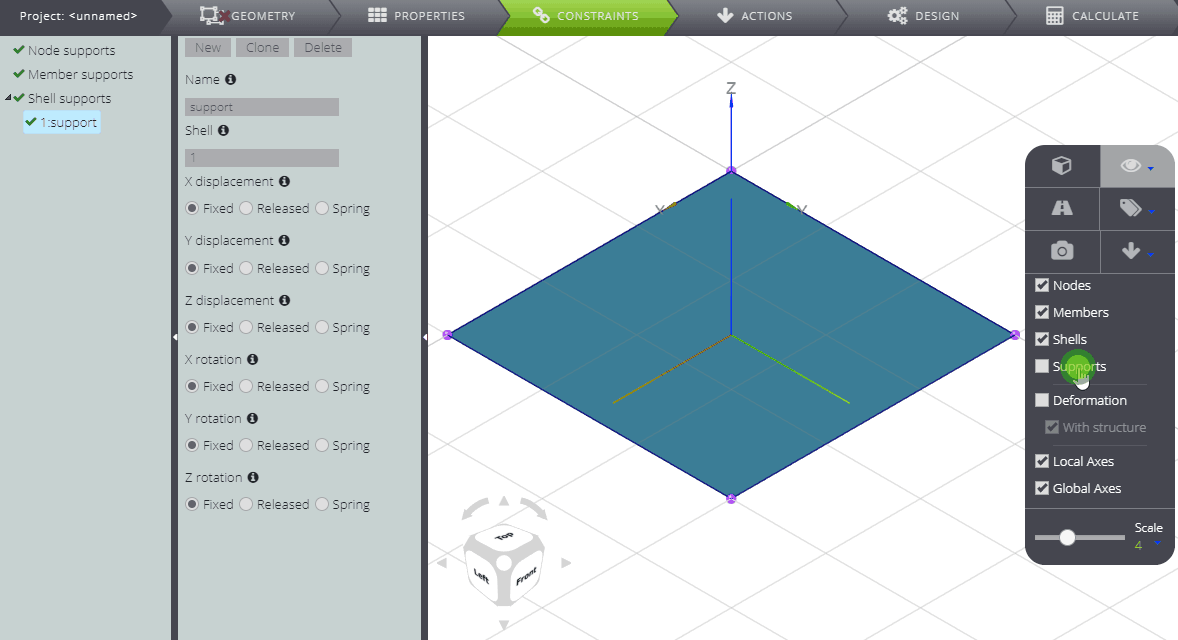
In the Shell field write the number that identifies the plate element you want to bind, then below select which of its moving components you want to fix or release. You can also impose a surface constraint and specify its stiffness.
If you need to repeat the same constraint conditions for several Shells, it will be easier to use the multiple assignment feature: enter a list or range of Shells to which you want to apply the same constraint.
